If you are thinking about an upcoming painting project such as painting your stained woodwork, you have come to the right place! Intended to complement and accent your walls, trim work gives your home depth. If you think of your home’s interior as a work of art, trim is the frame that you display it in. Because of this, it’s important to select the right colors and – more importantly – use the right methods. But, what are those methods? How can you ensure the paint you apply over stained surfaces looks good and lasts? Let’s talk about that!
1. Inspect and repair your trim
Before doing anything, take a close look at your home’s trim. Are there cracks? Gouges? Do you notice any gaps between the trim work and the wall? If so, now’s your chance to address these issues. Small cracks, dings, and gouges can often be fixed with wood putty and gaps can typically be filled with caulk. This may be your last chance, so take your time before painting to ensure that your trim meets your standards! It’s worth noting that painting stained woodwork will require your walls to have a fresh coat of paint applied or at the very least touched up. This is typically needed due to gaps that will be present above the baseboards and along sides of casings that will need to be caulked. These gaps need to be filled to give a crisp color transition once completed.
2. Prep your trim work for painting
The prep work part of this process is the most important step. It’s critical that the surface is thoroughly cleaned/de-glossed prior to priming the surface. This ensures there will be no adhesion problems. Cleaning with a degreasing solution and rinsing thoroughly is typically all that is needed. At Van Tuinen Painting, we use a 1 step process that essentially completes two tasks. We clean the surface with scotch bright pads and cleaning solution which not only cleans the surface but also scuffs the surface at the same time. It’s important to make sure the cabinets are wiped clean after scrubbing to remove any remaining contaminates.
3. Start painting!
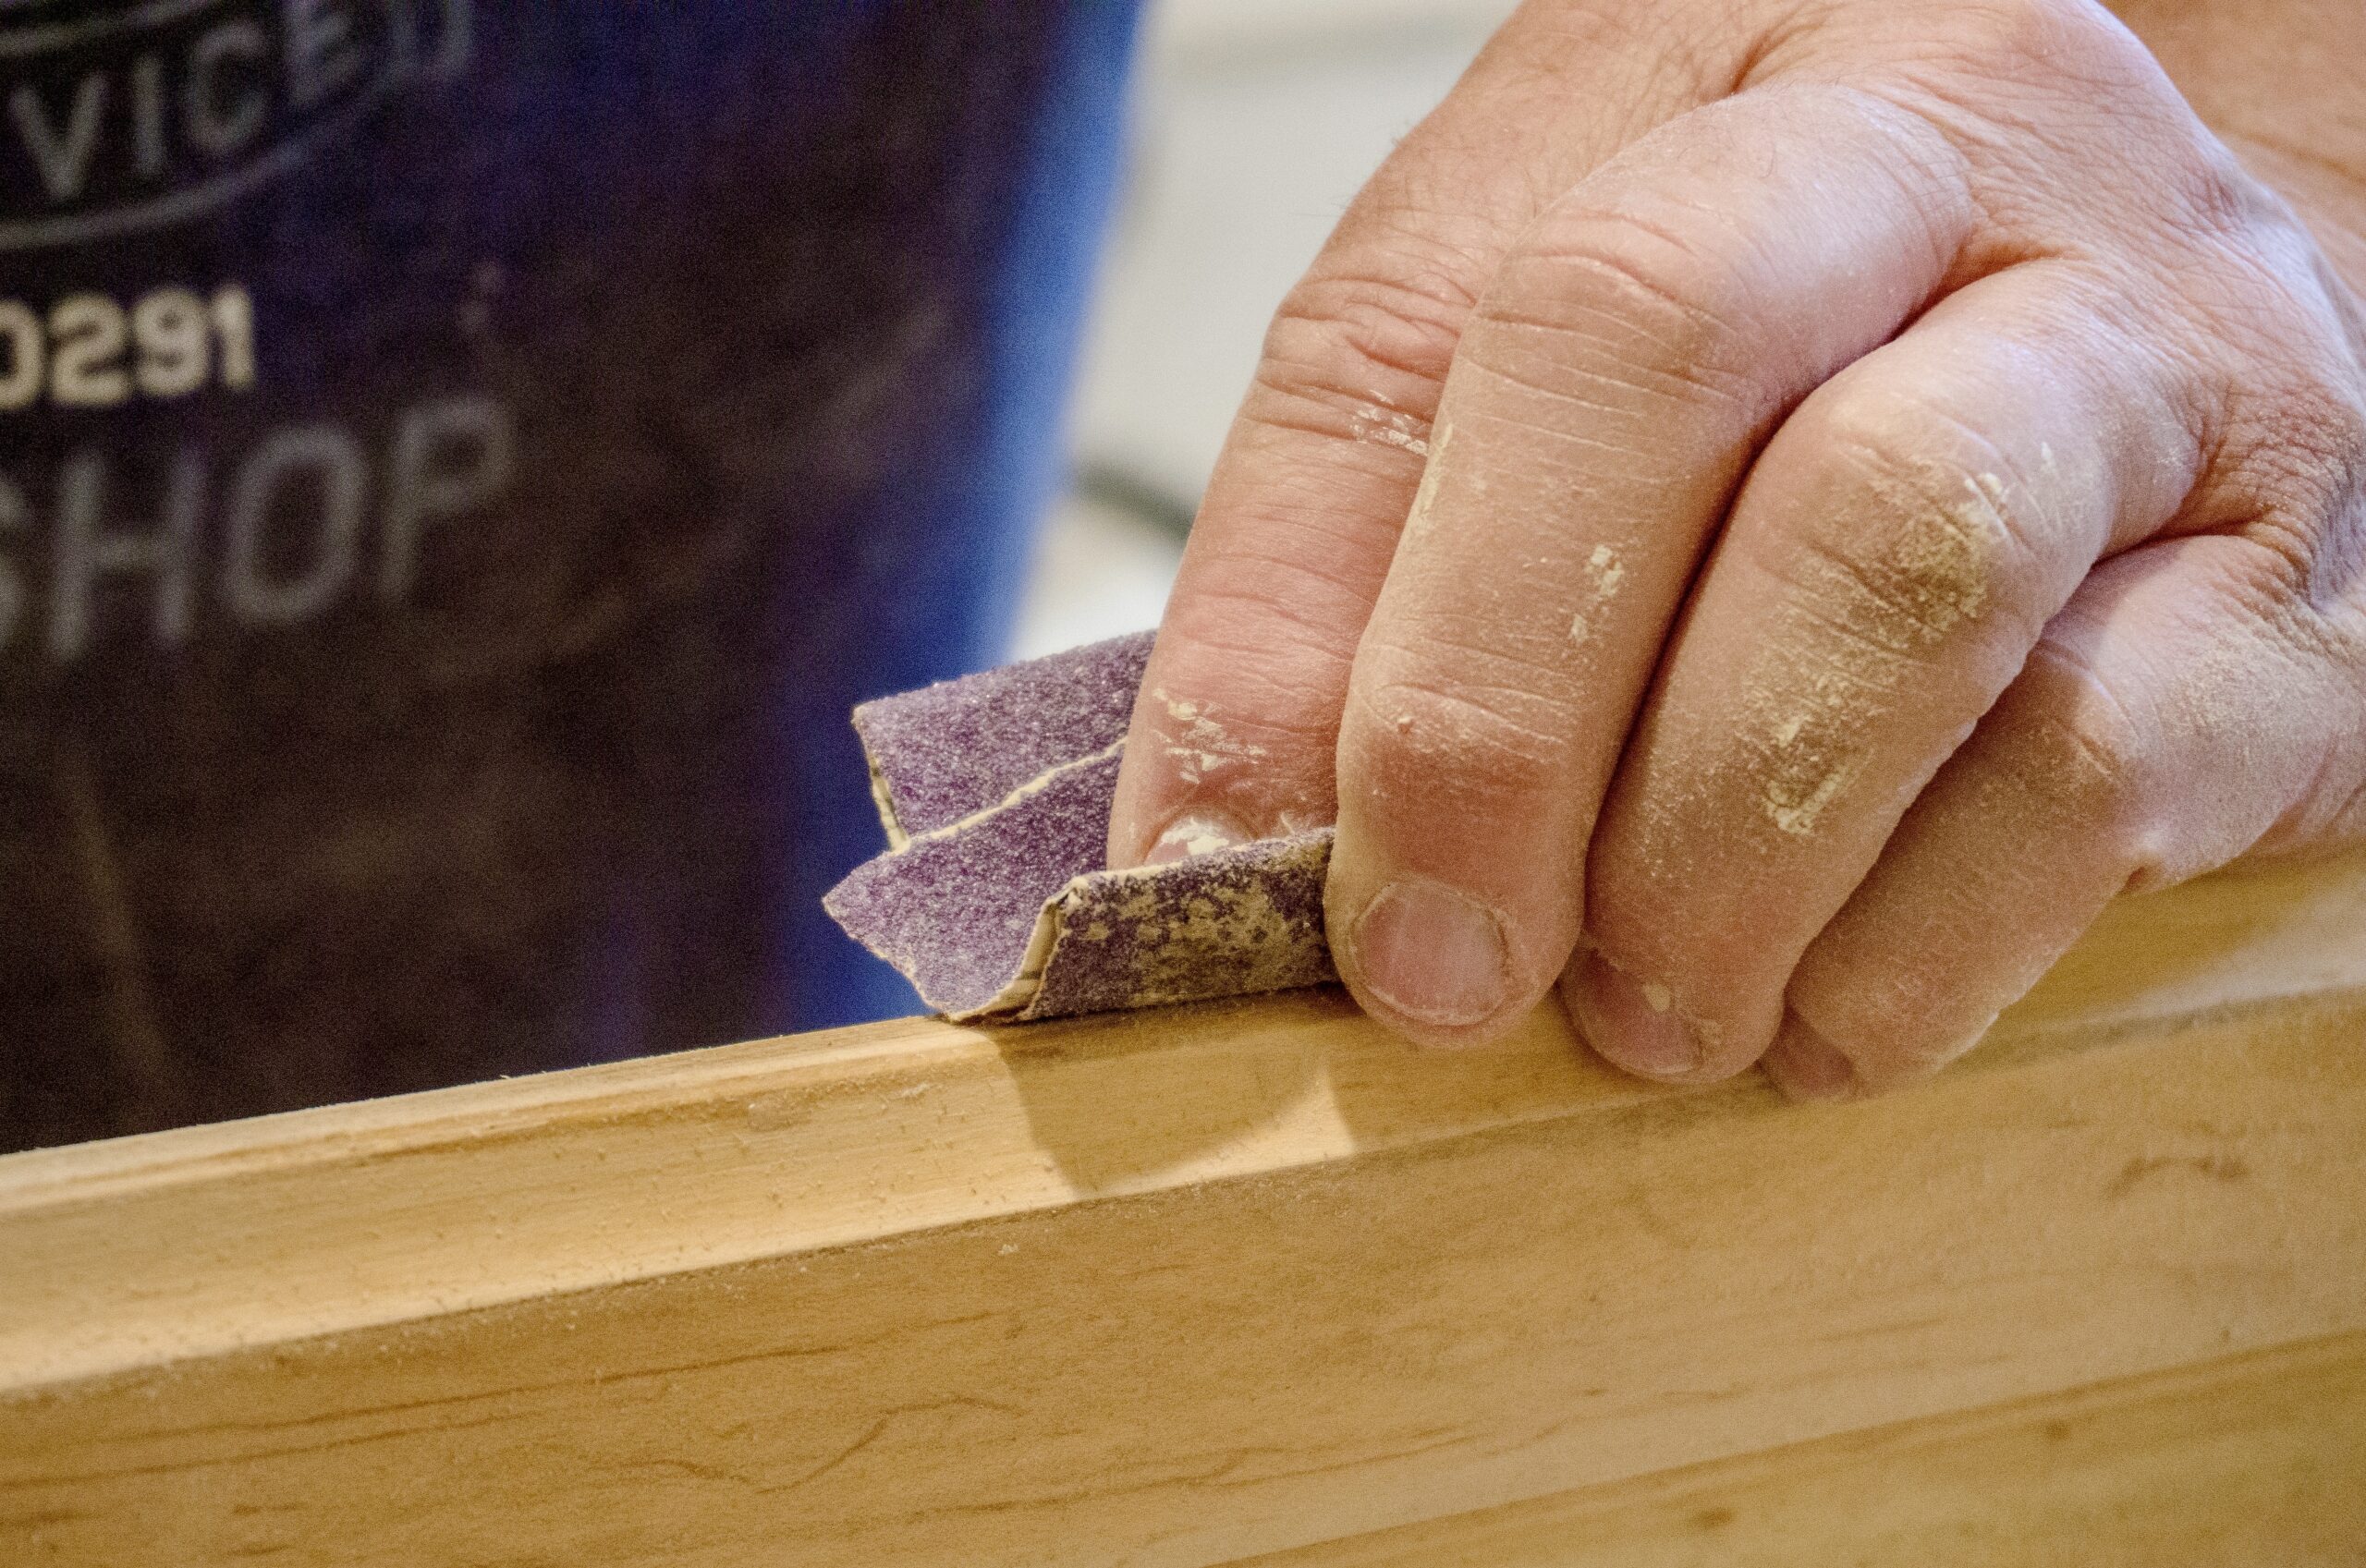
Once you’ve got all the legwork done, you can start painting your trim, windows, and doors. It’s very important to use the correct process when painting to provide a nice smooth finish. The products being used is also very important for long lasting results you’ll be proud of showing off to friends and family. Depending on the type of wood your painting, it will require a certain type of bonding primer for your base coat. After the bonding primer is applied, you must sand the woodwork again and tack cloth off to remove sanding dust. Now you are ready for your 2 finish coats. Remember, it’s important to sand between coats to provide a smooth finish. Of course, if you’re still wondering how to paint trim, you can always reach out to the team at Van Tuinen Painting to discuss your concerns and schedule some professional help!


